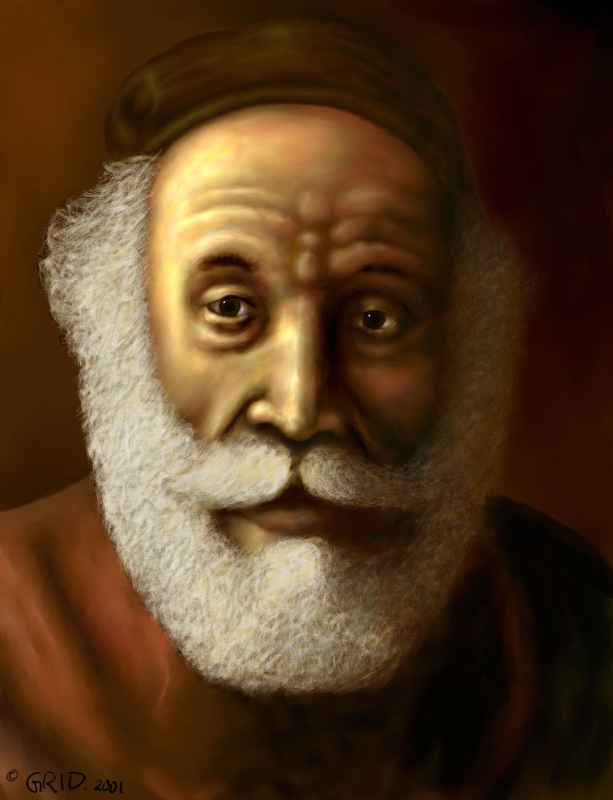
Following here is a "quick step guide" of this pic that I made for www.3dluvr.com
----------------------------------------------------------------------------------

This was made with Painter classic, so i guess you can make it in Painter5 or 6, but i think some
of the tools are differentor have other names in Painter 6 so you might have to experiment a little.
----------------------------------------------------------------------------------

01: start with makeing a pic that�s atleast twice as big as the final pic should be (I started with the
pic at height 3000 pixels).
----------------------------------------------------------------------------------

02: outlining the important countours and starting to fill basic colors with "brush/Big fine hair".


----------------------------------------------------------------------------------

03: using the "palette knife/fine dry brush" to "smear" the colors and adding the beard with
"brush/Big fine hair".


----------------------------------------------------------------------------------

04: adding hairdetail in the beard with "brush/big wet ink" and adding bright colors to the skin with
"brush/loaded oil".


----------------------------------------------------------------------------------

05: adding dark parts with black color on a "brush/big fine wash" with 13% opacity,
adding a little beard on the right and dark color on the cloth, smering the color on the
cloth and the beard on the right with "palette knife/fine dry brush".


----------------------------------------------------------------------------------

06: adding brighter colors for the cloth with "brush/dig dry ink" and smering it out with
"palette knife/fine dry brush".


----------------------------------------------------------------------------------

07: adding more dark colors, on the mouth and the beards dark side with "brush/big fine wash"
with size 3 so it�s easier to add details.and applying more dark and bright color on the hat
and smering it (and the background) with "palette knife/fine dry brush" with 15% opacity.


----------------------------------------------------------------------------------

08: added a little highlight on the face with "photo/dodge" and smeared it with
"palette knife/fine dry brush" with 15% opacity and size 4, and added more bright details
to the beard with "brush/big fine wash" with different opacity and size 1.6.

----------------------------------------------------------------------------------

09: starting to work on the eye�s and adding highlight at the right
position (same place on both eye�s) and make it sharp for a wet look.
(Final pic at the top)
----------------------------------------------------------------------------------

10: Now if you want you can add some details (where it�s needed), mostly with different kinds
of the "brush tool" and smearing it with "palette knife" ,and this can go on as long
as you wish, or are pleased with the result :)
And when you�re finished and should resize it you can do it 2 ways.
One is just to do a resize in painter, or you can zoom out to the size you want
and make a "print scrn" and paste it into photoshop or some other program,
that way you don�t get the "antialising" the program makes when resizing.

/GRID