 |
|||||||||
|
|
||||||||||||||||||
|
|
| Want to leave us a comment about the site or in general? Click here to access the form. |
 |
|
"Alice in Wonderland" by: Greg Petchkovsky Added on: Mon Aug 06 2001 |
|
| Page: 1 2 3 4 5 6 | |
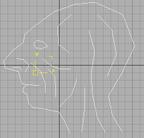
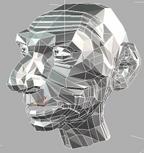
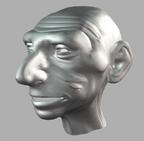
It is important not to make these splines too detailed, as the results will be mesh smoothed later. Any areas that remain largely open are also filled with splines, such that we don�t end up with large flat areas on the final mesh. All of the splines are joined together using the 3D snap tool such that they form either squares or triangles, much like an ordinary mesh.    A surface modifier is applied with steps set to zero and each vertex is pulled out sideways using edit mesh to form half a three dimensional head. This may seem a very roundabout (or even incomprehensible seeing as I have skipped over some of the details) means of creating a model, however it has many advantages. See the tutorial titled "Guide to Making a Polygonal Head" on 3DLuVr for a more detailed description of much the same method. When lighting the scene I was attempting to imitate the appearance of natural sunlight. I made a slightly yellow directional light to represent the sun; I wanted the appearance of dappled sunlight through trees, so I gave this light a projection map of some leafy branches.  A great deal of outdoor illumination is due to the sky, not just the sun, so I made a number of fairly dim blue spotlights coming from all around the scene. It was important to make these lights very diffused and to give them a large sample range and relatively small map size in the shadow map parameters rollout, thus giving the shadows a soft edge. |
Best viewed in 1024x768 or higher,
using any modern CSS compliant browser.