|
|
 |
|
"The Rescue" Added on: Mon May 22 2000 |
| Page: 1 2 3 4 5 |
Then I assigned a meshsmooth modifier with 1 iteration to give me more detail for the noise I assigned next.
I made it with a scale of 30, but dont trust too much on my values since I made the whole scene in cm and no measure scale at all. I checked fractal with default settings and just add 5cm to the Z axis. The result is what you see.
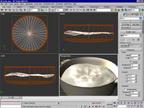
For the lighting I had 4 omnis with values from 0.4 to 0.7 in the positions you see. The one at the top is the brighter and it has an orange tone to simulate some lights on top of the ovens.It's the only one casting shadows and it is shadow map.
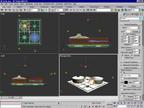
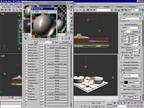
Now that we have the basics lets get to the textures. Texturing was done by getting some scans of real boiling pans. I used the Raygun from Right Hemisphere to render so the reflections and refractions are better than the original MAX scanline render.
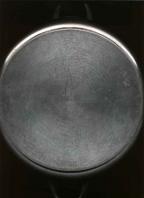 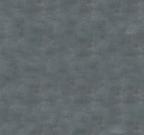
I scanned the bottom of the pan, and after a bit of work on Photoshop I made a very rough texture. I got another texture to make anisotropy and the result was this material that I assigned to the pan.
|
 |
|
|

